Working with a Food Illustrator: the Steps to a Successful Project
Discover the 6 key steps of working with a food illustrator. From brief to delivery, learn how to ensure a successful culinary illustration project.
How does a food illustration project progress? Each project is unique, but I always follow a clear and proven process. Let me walk you through a typical workflow, so you know exactly what to expect when collaborating with a food illustrator.
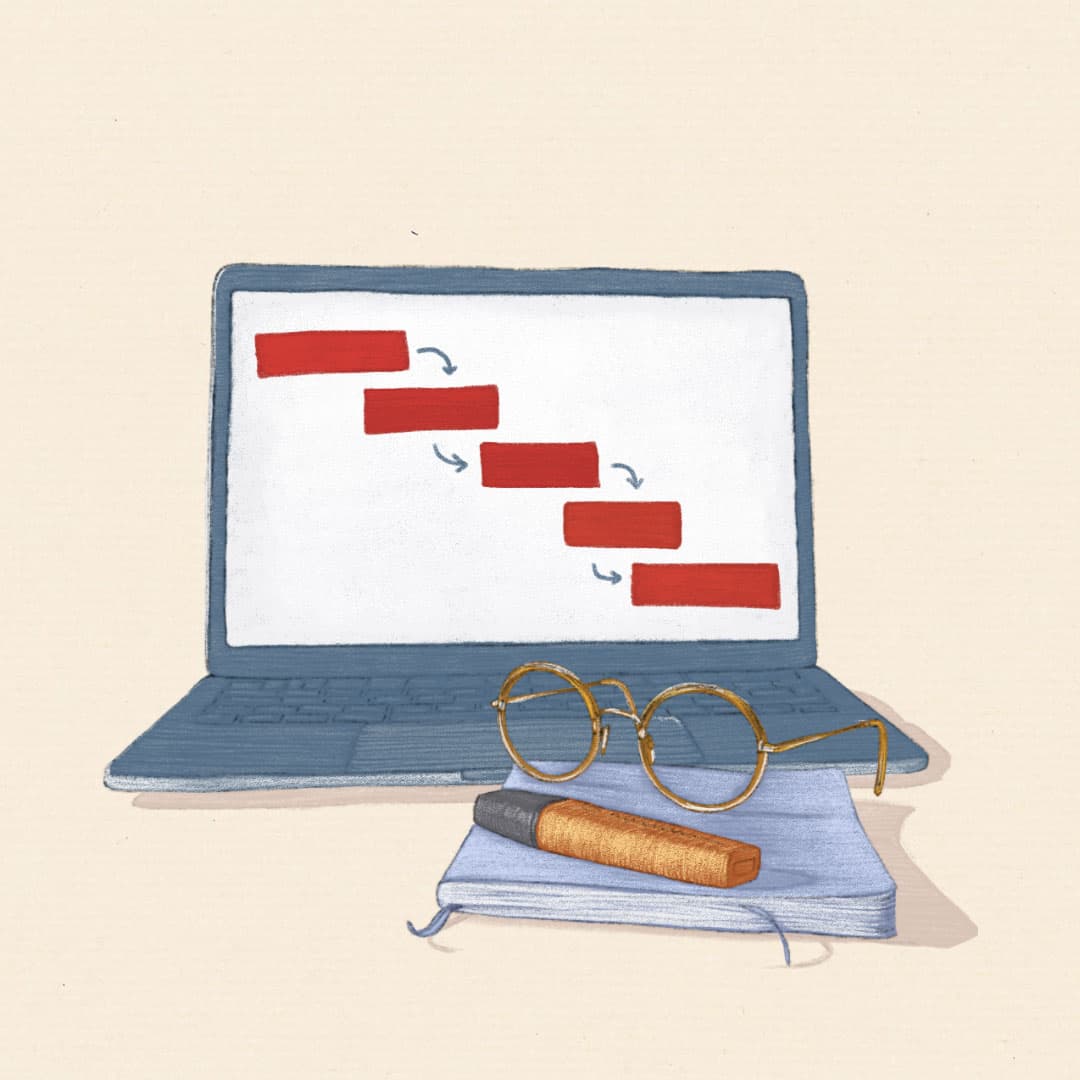
Over time, I’ve developed a reliable working method, the 6C method, where each stage starts with a “C”: Clarification, Concept Sketch, Composition, Colour, Conclusion, and Communication. Following these steps ensures smooth, stress-free collaboration and consistently successful results.
STEP1: Clarification
This is when you reach out to me and together we set a strong foundation for our collaboration. It’s often the most crucial part of the process! By the end of this stage, we’ll have a clear, shared vision to start your project with total confidence.
1. Getting in touch and choosing how we communicate
You can reach me by email (bonjour@myriamgabrielle.com) or via LinkedIn message. We’ll connect in writing or set up a first meeting—by phone, in person if you’re in Rennes, or over video call. While I prefer to keep video meetings to a minimum for sustainability reasons, I’m always happy to make an exception for an initial introduction. We’ll also decide together on the best way to stay in touch throughout the project—whether you prefer emails, calls, or team collaboration tools, I’ll adapt to your needs.
2. Preparing your brief, with my guidance if needed
Your brief outlines all your requirements for the project—the clearer it is, the better.
If you already know exactly what you want and are used to working with food illustrators, simply send me your written brief and I’ll reach out with any questions. If illustration projects are new to you, I’m here to help: I’ve created a short guide to help you craft the perfect brief, and if you need more support, we can set up a quick meeting for advice and feedback.
A comprehensive brief takes some time and thought, but addressing key questions early saves you time and money down the line.
3. Quote and contract proposal
If I’m confident I can meet your needs, I’ll send you a quote that also acts as a contract. The clearer your brief, the more straightforward this step is.
My proposal includes everything we’ve discussed: your requirements, a detailed outline of what I’ll deliver, and my general terms and conditions. The quote also breaks down pricing, including production costs and rights licensing. If these terms are new to you, I’ll explain them so you feel confident before moving forward. I take the time to calculate a fair price, sometimes collaborating with colleagues for transparency on market rates, especially for unique projects. That’s why I don’t give instant price quotes over the phone. Instead, I analyze every project’s specifics.
If the cost exceeds your budget, I can help you refine the brief or adjust the project’s scope so it aligns better with your resources. I’ve written a detailed article on how I approach pricing for illustration. To avoid unnecessary back-and-forth, I recommend sharing your budget range early on: this helps us quickly develop creative solutions tailored to your needs.
4. Approving the quote and starting your project
Once you’re happy with the quote, we can officially kick off your illustration project!
Here’s how the launch works:
- You sign the quote (electronic signature is available for your convenience).
- I’ll send you an invoice for a 50% deposit, which you can pay by bank transfer.
- You provide any necessary assets listed in the quote, such as brand guidelines or logos.
The project begins as soon as I have your signature, deposit, and any required materials. If you’re preparing a project timeline, please ensure that any assets you’re responsible for will be ready by the agreed start date.
Step 2: Concept Sketch
At this stage, we shape the vision for your illustration (or set of illustrations). It’s a crucial part of the process—while the drawings aren’t detailed yet, this is where the final project truly begins to take form.
1. If you already have an established concept
If you already have an established concept, complete with a sketch and color palette, we can move directly to the next phase. This is often the case if you have an art director on your team or an agency handling your brand’s visual direction.
2. If you haven’t defined the sketch and palette
If you haven’t defined the sketch and palette, we’ll develop them together. I’ll present several rough concept sketches, each with a brief explanation (typically two or three, as specified in your quote). These aren’t fully polished yet—the goal is to agree on the overall composition and main elements. I’ll also suggest color palettes and indicate where those colors will be applied.
As for the illustration style, you’re already familiar with my signature approach from my portfolio. It’s important to confirm this style before moving ahead.
3. You then formally approve the sketch and palette
This validation is key—afterwards, the next steps will require much more time and detail. It’s important to finalize decisions now, just like signing off on architectural plans before building starts. If revisions are requested after this stage, additional work will be reflected in the project terms.
Pro tip: If another team member needs to approve the final artwork, involve them in these early validations or have them agree not to revisit previous decisions. It’s the best way to keep your project on track.
Step 3: Composition
This stage is where your project really comes to life. While the initial sketch is a quick visual note, the composition is a fully detailed drawing—without color or texture yet—that serves as the blueprint for your finished illustration.
1. Building from the approved sketch, I create the final detailed composition
I often use my own original reference photos to ensure authenticity and unique inspiration. The drawing itself is done digitally with a stylus, maintaining the feel and expressiveness of traditional pencil while offering the flexibility to rearrange and refine each element.
Now you’ll see your project take true shape.
2. You review and approve the composition
You review and approve the composition, with a set number of feedback rounds included in the quote. At this point, you can request adjustments as long as they don’t change decisions already finalized in earlier stages. Together, we make sure every detail is right before moving on—bringing your vision closer to completion.
Step 4: Colour
Now the illustration comes to life with color and texture! By the end of this stage, your artwork will be fully finished.
1. Adding color and texture
This is where I bring the composition into full color, layering in all the signature textures and effects that define my style. It’s a detailed and creative phase that I truly enjoy.
2. Final approval of the artwork
Since we’ve already validated the key elements earlier, this review is typically smooth and satisfying—seeing your finished illustration is always a rewarding moment! If the project needs multiple formats, we’ll confirm each one at this stage to make sure your artwork works everywhere you need it.
Step 5: Conclusion
A smooth project wrap-up is just as important as a strong start. At this stage, all deliverables are handed over to you.
1. Once you’ve approved the final artwork, I deliver all agreed files
Once you’ve approved the final artwork, I deliver all agreed files on time—these may include various formats, sizes, or crops. Working files are only provided if specified in the contract, as they require additional preparation and are rarely needed. Files are sent through a secure file transfer service or directly to our shared workspace, with a limited time window for download to keep things organized.
2. You’ll then receive the final invoice for the project balance
Payment of this balance formally grants you the rights to use the illustrations—please ensure this is settled promptly so you can start using your new assets.
Pro tip: Always use the delivered files for your final assets, not the working files from previous rounds, as those may be lower quality and not intended for production use.
Step 6: Communication
Once your project is delivered, I like to share the work in my portfolio or on social media—unless otherwise arranged in our agreement. I’ll confirm with you when it’s okay to showcase the project, and if you’re open to it, I would greatly appreciate a testimonial in the “recommendations” section of my LinkedIn (which I may also include in my portfolio).
For particularly noteworthy projects, I may write a detailed client case study and will always share it with you for feedback before publication.
Let’s keep in touch! I’d love to hear how the illustration performs for you, and I’ll check in from time to time. You’re always invited to join my monthly newsletter for updates and inspiration.
If your illustration needs become ongoing, I’m happy to discuss a retainer or subscription system for future projects.
Now you know what to expect from working with me! If you’re ready to get started or have a project in mind, feel free to reach out—I’d love to hear about your food illustration projects.